STAGES OF REPAIR AND FINISHING WORKS

Semi-Detached House in South Woodford (Live Project)
20 August 2019
Aluminium doors
28 November 2019
STAGES OF REPAIR AND FINISHING WORKS
All repairs are carried out in several stages, the main characteristics of which will be given below. It is worth considering a brief sequence of all work, so that the whole order of their implementation is more understandable. So, the main stages of work are as follows.
Preparatory work
REMOVAL WORKS
Dismantling work
It is with dismantling that the whole process of repairing the premises begins. All the old decoration, wallpapers, parquet or laminate, slab, various partitions are getting removed to prepare it for a new coating. This is one of the most essential stages, as without proper dismantling work the further works might not bring desirable results.
Dismantling the partitions
Unlike load-bearing walls, partition walls could be removed since they are responsible for the safety and building support. Between the partition and the ceiling, normally, there is a small gap which ensures its integrity during the shrinkage of the entire building.
This gap is filled with tow, which must be removed after. After that, the partition itself is dismantled: it has to be done from top to bottom. Thus, for a brick wall, dismantling consists in gradually disassembling it in bricks. It is worth paying attention to protecting the floor from falling particles of a destroyed partition.
Floor dismantling
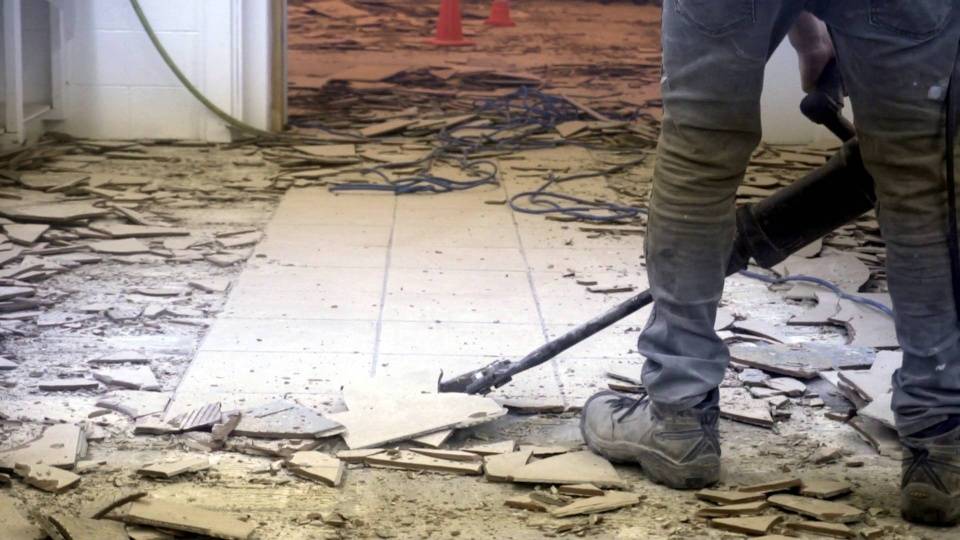
To dismantle the tiled floor, a puncher, a sledgehammer and a chisel are required. If replacement of the flooring is not required, floor gets carefully closed to prevent any damage.
Dismantling window and door blocks
To dismantle the door block, we first start with the door, which is not so difficult to remove. It will be more difficult to remove the door jamb from the wall, especially if it is installed in the supporting wall. After the door block is removed, the doorway can be changed in size depending on what parameters the new jamb will have. If replacement of windows and doors is not needed, then the cracked paint are carefully get removed, preparing the surface for a new coating.
Dismantling wall and ceiling coverings
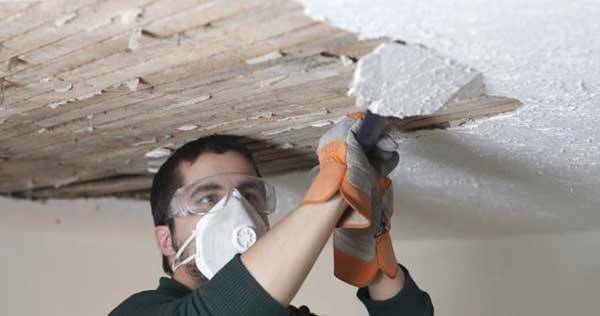
Plaster is removed from the walls layer by layer starting from the top of the wall. Wallpaper is torn off in pieces, and those that are firmly attached to the wall are soaked and removed with a spatula. Paints and enamels that were used in the coating of the ceiling can be removed with a spatula, starting from the places where the cracks formed, and whitewashing can simply be washed off until a layer of putty appears.
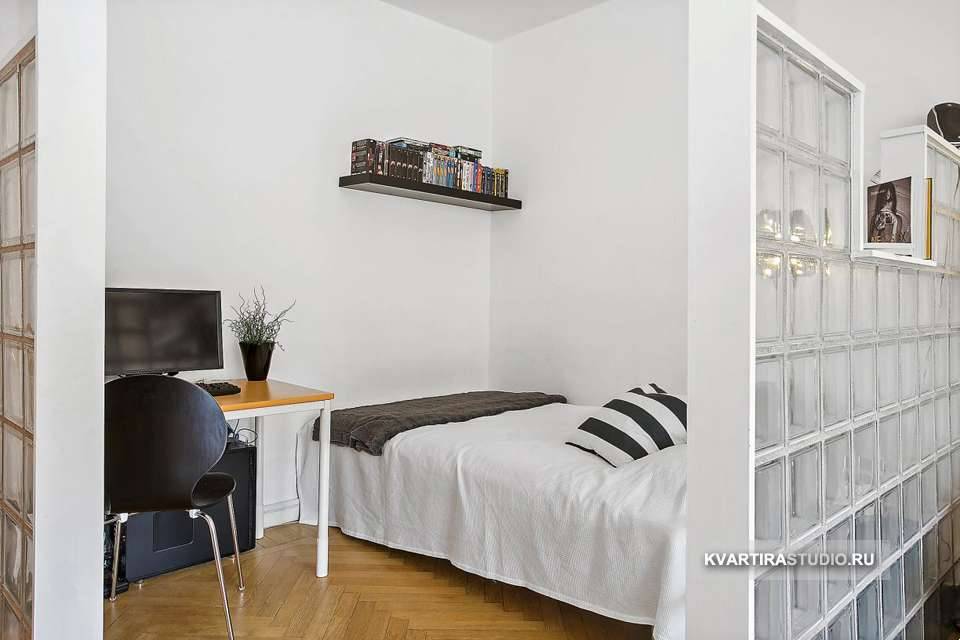
PARTITION DEVICE
When all dismantling works are completed, you can proceed to the installation of new partitions according to the prepared project. Partitions can be made of various materials: brick, foam blocks, drywall, etc. All these materials have their pros and cons, but in most cases each partition requires a small gap between it and the ceiling, which is necessary in case of building shrinkage.
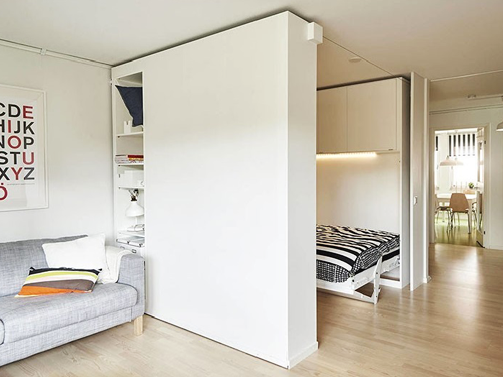
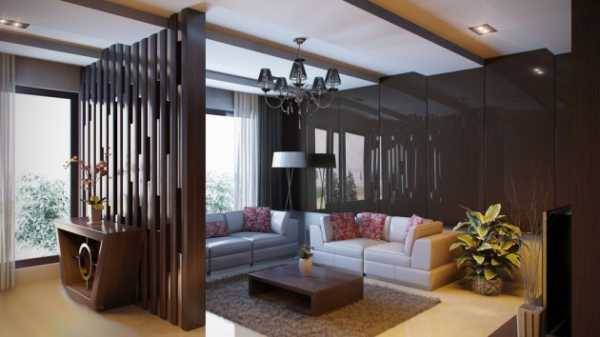
Types of interior partitions
Certainly, a folding screen or a sliding door can be used as an interior partition, but still many people prefer stationary partitions, which vary in types. These are discussed further.
Overview of stationary interior partitions of various materials
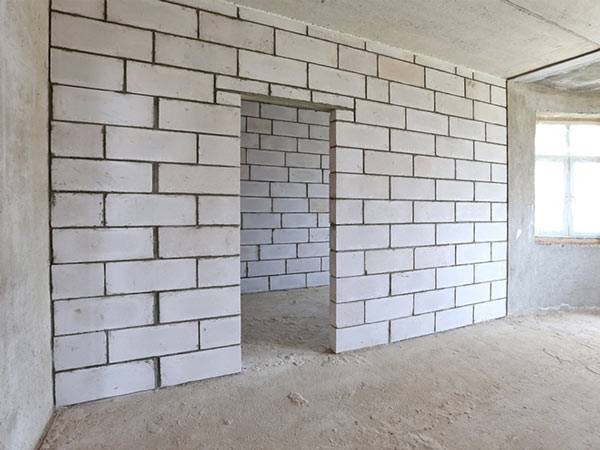
Brick partitions
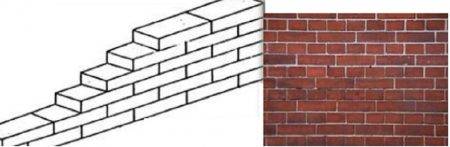
Such partitions are often erected in modern apartments, including bathrooms. The reason for this popularity was the virtues of the brick, which consists in its moisture resistance and high ability to soundproof. However, the brick is not without drawbacks: for example, the construction of brick partitions requires a lot of time compared to interior partitions made of drywall and foam blocks, and also have significant weight.
Partitions from tongue-and-groove plates
Such partitions are suitable for use in any room and in any conditions. Their advantages include fire resistance, moisture resistance, breathability, environmental friendliness. Partitions of this type are relatively easy to install, and inside such partitions you can hide, for example, an electric cable if the partition is single, and even a sewer or water pipe if it is double.
Foam block partitions
Such partitions are a kind of concrete partitions, and therefore have such properties as fire resistance, high ability to heat insulation and sound insulation, excellent load-bearing ability. The negative side of this type of partition is its low breathability, but it does not make the foam block less popular to use, since it is now considered the best solution for organizing interior partitions. Such partitions are strong and strong enough even to hang a kitchen, TV, loaded shelves, etc.
Glass block partition
This type of partition is useful for unusual design ideas. Glass for such partitions is strong enough and has a width of up to 10 mm, and can also be decorated with any pattern, which makes this material invaluable for creating an interesting design. In addition to the design, the advantages of such a material can be written their heat and sound insulation, fire resistance, strength and reliability, as well as the ability to transmit light, which is beyond the power of other types of partitions. Of course, it is impossible to nail shelves to such a partition and lay electrical wiring in it.
Drywall partitions
Such partitions are often used to create frame structures. Due to the fact that the drywall itself does not have sufficient strength, it is mounted on a finished metal frame. With a small mass of such a partition, it has good soundproofing properties, it is vaporproof and fireproof. Drywall, however, has some disadvantages: for example, it is not very durable, breaks easily, is able to absorb moisture and deform. If you need to attach something to such a partition, then you need to remember that it does not support a lot of weight, and it is better to fix some structures to a metal frame.
Wooden partitions
Such partitions may vary in design, but they are all natural and have properties such as strength, good sound insulation and thermal insulation. But, in addition to these positive characteristics, wooden partitions have several drawbacks: they are able to absorb moisture and do not withstand fire well.
PLASTERING WORKS
After installing all the necessary partitions, we are moving to the plaster works. Most often, gypsum plasters are used for this. We carefully approach the process of applying and drying the plaster layer while performing such work. Thus, it can take from 15 to 20 days for a layer with 6 cm thickness to dry depending on temperature. Apply plaster in several layers is not good practice, thus, if even it becomes necessary, we make sure there are long intervals between applying layers of plaster. Although it dries for a long time, it hardens quickly, which can lead to the fact that after the repair is completed, a slight vibration impact on the walls, the plaster can simply break off in pieces due to the fact that its adhesion to the previous layer is very weak. Therefore, it is better to apply the plaster with only one layer or, if it is absolutely necessary, apply the first layer evenly with slaps, and immediately after that proceed to the second layer.
INSTALLATION OF WATER SUPPLY AND SEWERAGE SYSTEMS
All the installation of a water supply system is carried out simultaneously with the electrical installation. These works require a clear understanding of where each of the plumbing items should be. Naturally, this stage of repair work also presupposes the presence of all plumbing products that must be installed. Also at this stage, water supply and sewage pipes are laid.
INSTALLATION OF HEATING SYSTEMS
After all the plastering works are completed, the equipment for water supply and sewage is equipped, you can proceed to the installation of the heating system. In most cases, this stage consists of replacing old heating radiators with newer and more advanced models. The most popular heating system is underfloor heating, you can regulate the heating, switch it of when necessarily and maintain the comfortable for you microclimate in the house.
It is worth mentioning that when the wallpaper is glued and other finishing work are carried out, we may need to temporarily remove the radiators.
INSTALLATION OF AIR CONDITIONERS
When the main elements of the air conditioner begin to be mounted, you need to clearly know where it will be located and what type of air conditioner will be installed. This stage involves the installation of equipment such as an external unit, a drainage system, air conditioning routes, etc. Nevertheless, all the indoor units are installed during the finishing process
ELECTRIC INSTALLATION WORKS
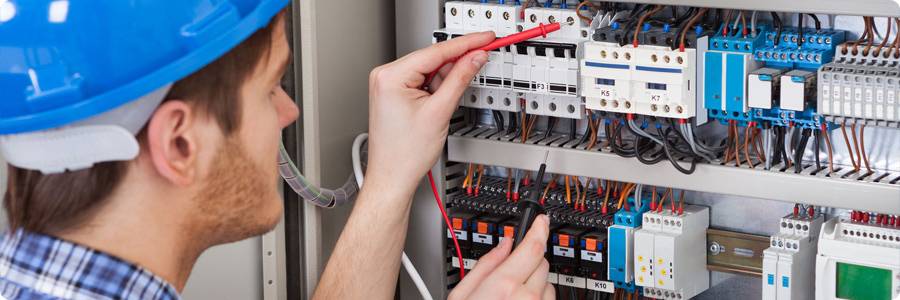
Right after the plastering works, almost at the same time as the installation of plumbing, electrical work is carried out. Here you need to clearly know where and how much of sockets and switches have to be installed, by that time we already know the number and location of the main consumers of electricity. After all this is done about the load on the power grid and wiring is carried out according to a certain scheme.
The order of electrical work
It is very important to carry out installation work on the electrical wiring precisely after the plastering of the walls. Indeed, in this case, the accuracy of the location of the switches and sockets is increased, future decoration is not damaged, and the chance of damage to the wiring is also reduced. In addition, it is thanks to the implementation of electrical work after the plastering that there is a chance to correct some miscalculations without resorting to the destruction of the already completed plaster.
It is worth emphasizing the importance of accurately representing the future interior of a room or apartment so that you can know exactly where the sockets will be needed, because when they are installed thoughtlessly, this often leads to not very pleasant results. Therefore, you need to make a plan in advance of the location of all sockets and switches, and then discuss it with a specialist in order to agree on some details or eliminate possible miscalculations. After the location design has been agreed, it is necessary to make a working electrical project, on which rough electrical installation work is performed. They consist in laying wiring, installing socket boxes and an electric shield. But all the other elements, sockets, switches, lighting devices, are installed after all the finishing work.
FLOOR SCREED
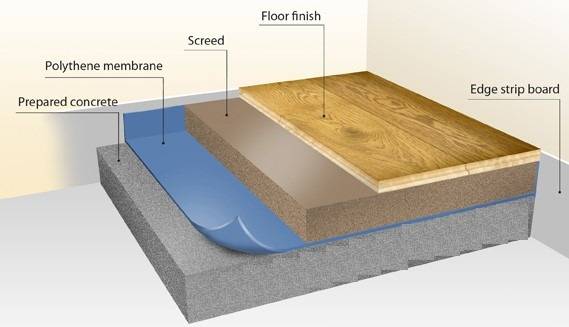
The floor screed is performed after all the plastering works have been completed, as well as communications. The screed is necessary to create even surfaces that are needed at the finishing. There are many requirements for the implementation of such work, which are the nuances of the work, the materials used, the drying time, etc.
Gypsum plasterboard works
Creation of drywall constructions
Work on the creation of drywall constructions is usually carried out after the screed dries and settles well. An excellent option for use in many rooms, especially in bathrooms, is a moisture-proof drywall.
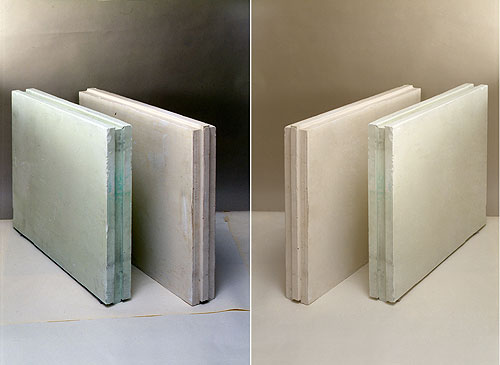
Types of drywall and its properties
The following types of drywall are distinguished:
- wall: its thickness is 12.5 mm, it is used very often for wall cladding, as it makes it possible to create a smooth surface without plaster. It is also used to equip partitions, and sometimes for ceiling lining;
- ceiling: used in ceiling cladding, especially when it is planned to use suspended ceilings. Its thickness is 9.5 mm to facilitate the ceiling structure;
- arched: the thickness of this drywall is even less – 6.5 mm. It is used to create arched structures of different sizes.
Drywall is also divided according to the place of use for a number of characteristics. So, they produce a moisture-resistant gypsum board, which is practically not able to absorb moisture, and is often used in bathrooms and kitchens, fire-resistant, which is recommended to be used, for example, in the area near the fireplace.
All types of drywall have such positive properties as thermal insulation, good sound insulation, environmental friendliness, the ability to carry out clean, “dry” construction work with its use. Partitions made of drywall can be subjected to any finishing work; drywall is perfectly connected with almost any material.
TILE WORKS
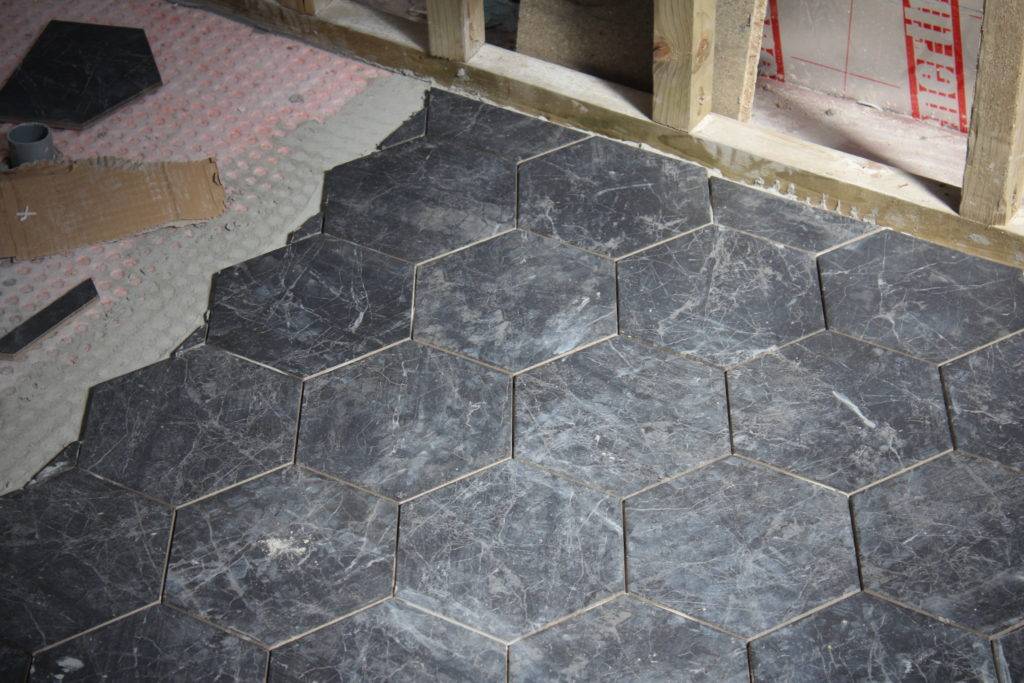
Tile laying works must be performed as accurately and carefully as possible, since it is the quality of its laying that largely determines the overall impression of the repair. Naturally, the finished tile coating directly depends on the quality of the tile itself, which is almost impossible to predict – its quality becomes known only when the time comes to lay it, and it still arrives at the place of work.
It is worth noting that the most difficult to lay tiles, which has a complex pattern and various decorative elements: the more such elements, the quality of laying becomes lower, and the complexity is higher. It is also more difficult to lay tiles that are elongated in length.
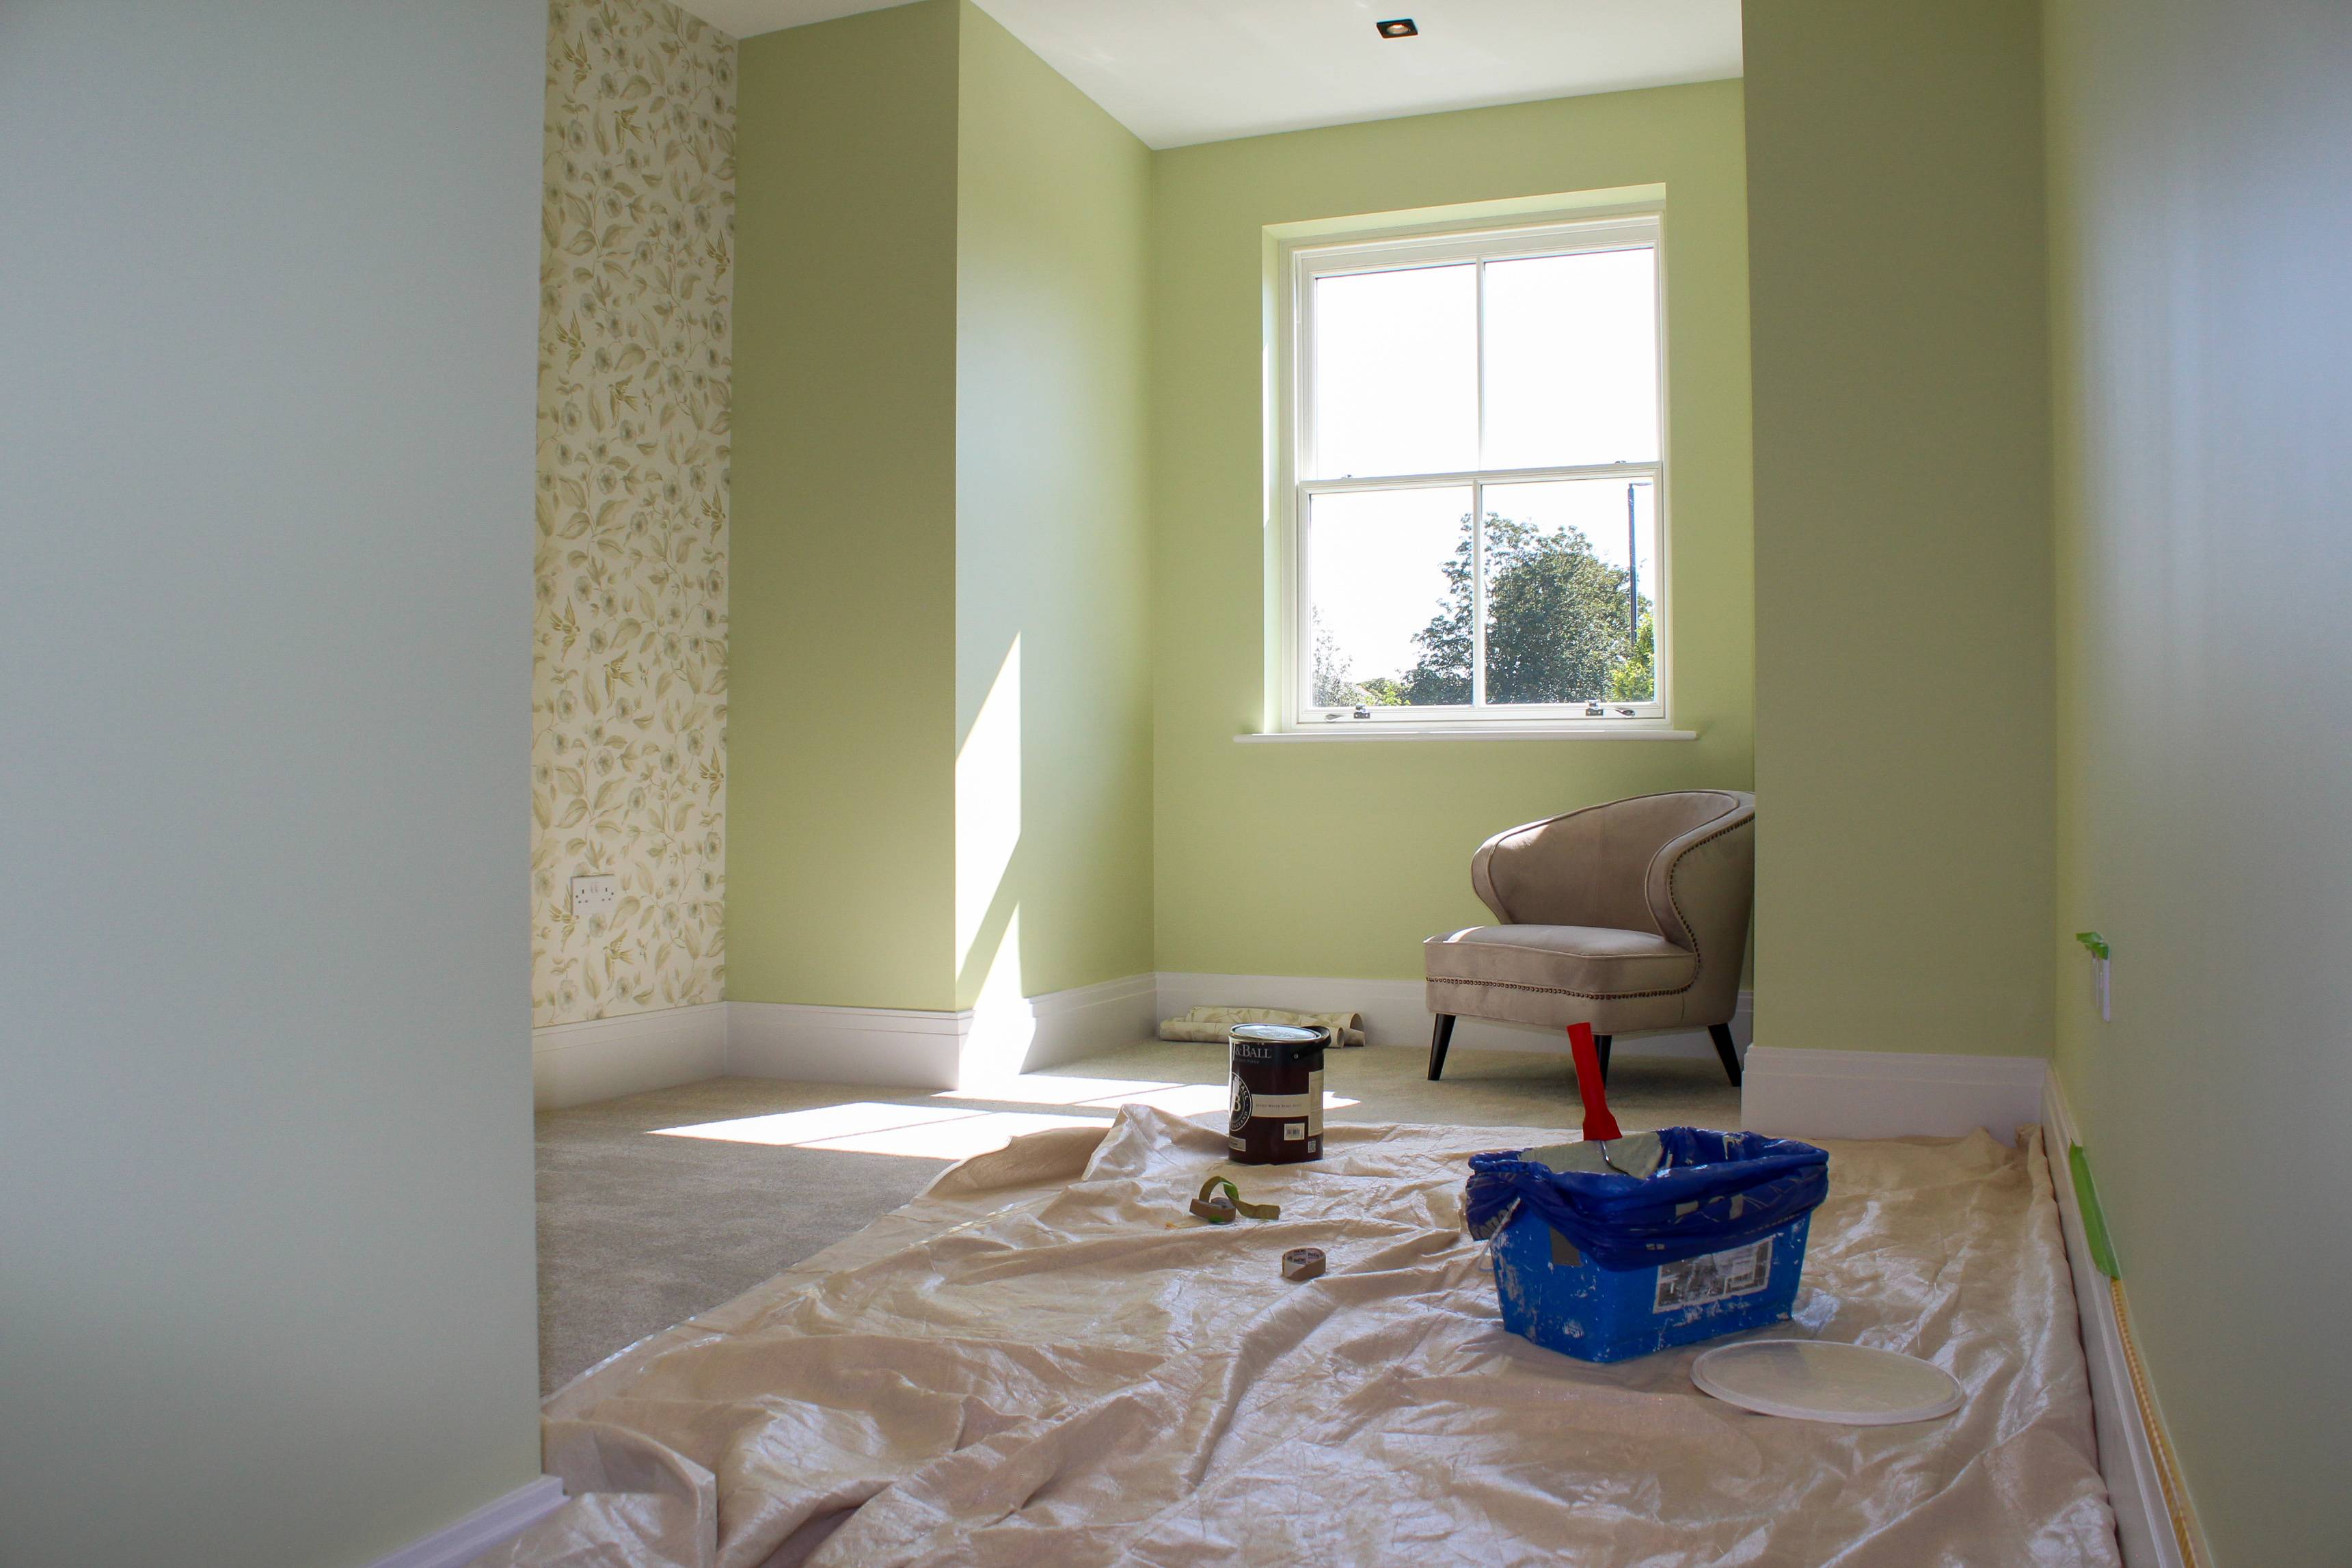
PAINTING WORKS
Painting work includes a whole range of finishing work. So, painting work involves the installation of painting corners, priming the walls, puttying and grinding them, sealing the joints between the sheets of drywall, as well as painting the walls, wallpapering (more about choosing wallpapers, what wallpapers are available).
As for the ceilings, then the painting work begins with priming the surface, installing a painting corner and sealing the joints between the sheets of drywall. Then they proceed to gluing the glass canvas and its primer, filling and grinding the ceiling, which can be performed in two stages. All painting work on the ceiling is completed by its painting.
INSTALLATION OF SANITARY WARE
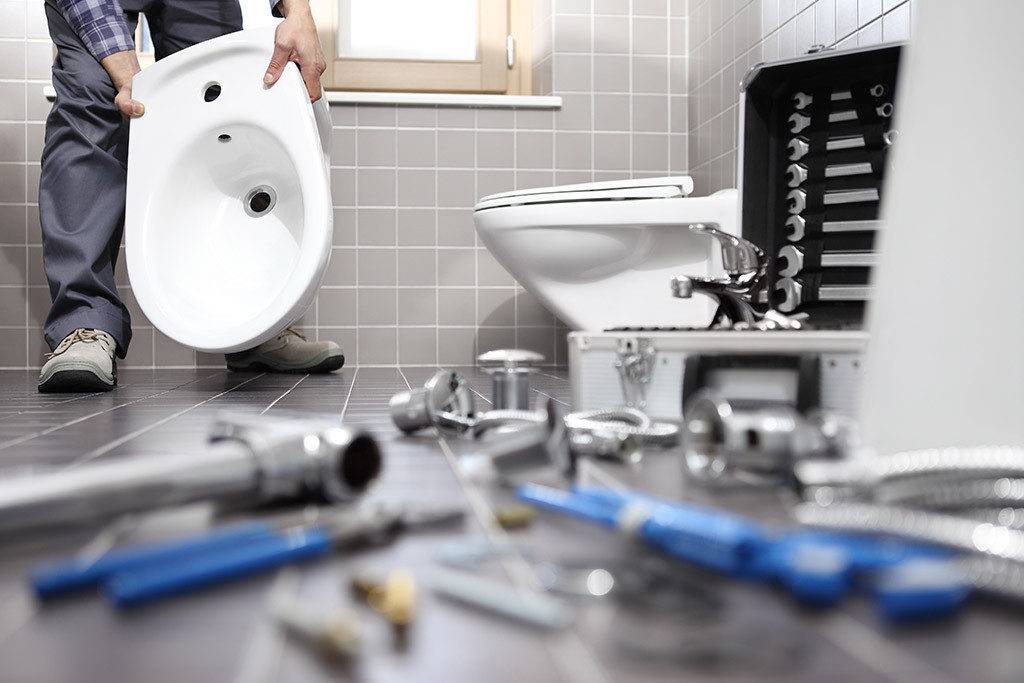
Usually, they begin to install plumbing after all the facing works have been completed: the walls are painted, floor and ceiling coverings are made. At this stage, they install all the necessary and stipulated by the project sanitary products: bath, shower, washbasin, toilet, bidet, heated towel rail. Sometimes, when this is required by the designed design, some of the facing work is carried out after installing the plumbing. So, sometimes it is necessary to lay out the tile exactly along the edge of the shower or bath.
When installing faucets, which is also included in the list of works on installing plumbing, it is important not to scratch the chrome parts, so you need to use special tools. Also, do not forget about the need to seal the joints of sanitary ceramics with cladding.
LAYING FLOORS
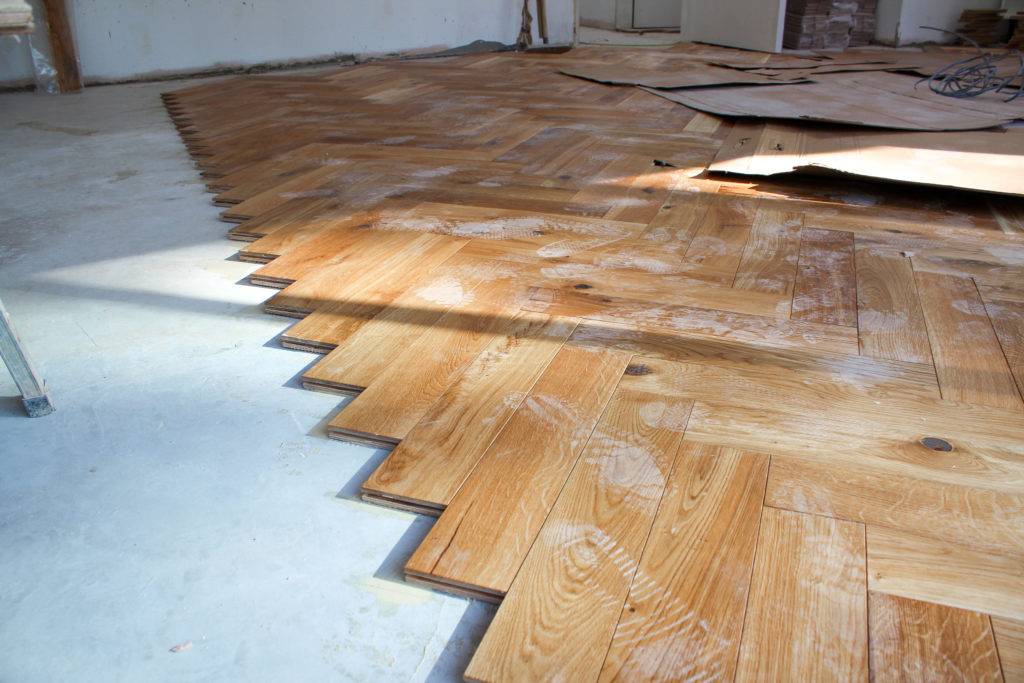
It is best to start laying flooring when all other finishing work has been completed, i.e. it is a floor covering that is better to complete all stages of finishing. The same applies to doors, as well as stairs, which are provided for by the project for installation.
Each type of flooring has a number of requirements for their implementation. So, for example, the laminate is laid on foamed polyethylene, and the parquet requires laying on a concrete screed covered with plywood, after which all the necessary painting work is carried out, after which the coating itself is laid, fastened to the plywood with nails. In order not to get dirty, it is usually covered with paper or cardboard on top.
FINISHING WORKS
Such works include all finishing works, which include decoration of the room. In addition to the painting works themselves, the finishing work also includes the application of complex-type decor to walls and ceilings. So, it is this stage that provides for the implementation of Venetian plaster, the application of texture paint and other textured coatings. It is this repair phase that often takes a sufficient amount of time, since it requires a serious approach.
Finishing work also includes the installation of skirting boards and cornices, ceilings with various panels, etc.
CONNECTING ELECTRICAL EQUIPMENT
After all the painting and finishing work has been completed, they begin to complete the installation of electrical equipment that was started earlier. So, this stage provides for the final arrangement of sockets and switches, as well as the installation of lighting devices of various types: lamps, chandeliers, sconces, etc. At this stage, various electrical devices are also connected.
Our expert team is happy to help you to build your dream house.
Contact us on 020 8133 1251 or office@danielscontractors.co.uk
for a FREE no-obligation quote and survey.


2 Comments
[…] If you are interested in how we carry out the repairing process you can read more in details here. […]
Спасибо